ROB RUN Notoriety: levels, bonuses and the risk curve
How the heat meter works, what it pays, and why the correct play is usually to leave before level four.
Notoriety rises with every crime during a single visit to Looty Bay. Higher Notoriety means better loot and higher fence and cargo payouts, but the police response scales with it. It resets when you leave, so banking loot also resets your bonus.
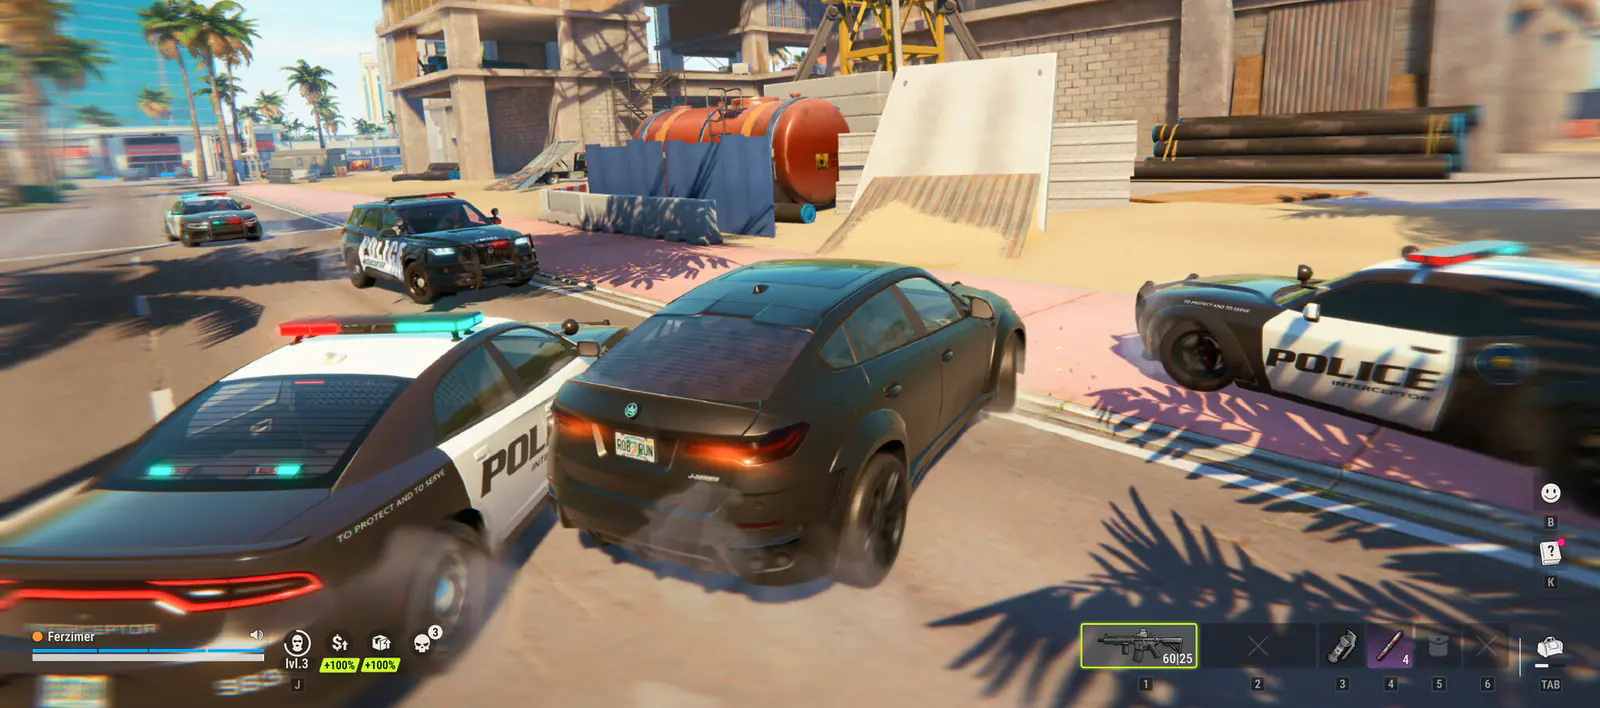
Notoriety is ROB RUN’s risk dial. Kefir describes it as a spree meter: “The longer your crime spree goes on in Looty Bay, the higher your Notoriety level rises. Higher Notoriety means better loot and higher payout rates — but the risks scale right up with it.”
How it rises and resets
- It rises per crime within one visit to the city, not across your whole session.
- It resets when you leave the city — which is also when you bank your loot.
- Solo players and duos reportedly start at a higher baseline, per community testing.
- The HUD shows it as a level; launch-week guides show level four as a high state.
What it pays
| Effect | Direction | Confidence |
|---|---|---|
| Fence prices | Higher with Notoriety | Kefir: “better deals from fences” |
| Smuggler cargo payouts | Up to ~50% more at top level | Community testing |
| Loot quality | Better at higher levels | Kefir |
| Police response | Scales with Notoriety | Kefir |
| Bounty visibility | Attacking civilians reveals your position | Community reports |
Playing each band
- Levels 1–2: build the bag Cheap targets, quick exits. This is where you learn routes without risking much.
- Level 3: the working range Payouts are noticeably better and the response is still survivable. Most solo players should treat this as the ceiling.
- Level 4+: the gamble Better loot, real police pressure, and a bag you cannot afford to lose. Only worth it with an exit plan and a vehicle.
Wanted, bounty and visibility
Kefir has not published a formal wanted meter. What community testing describes: killing civilians or police turns your icon red and tells every cop you are in the area — though not exactly where. Tripping an alarm brings police to that building rather than to you personally.
The practical difference matters. A red icon is a server-wide invitation; an alarm is a local response. If you must choose, choose the alarm.
Using Notoriety deliberately
- Bank first, spree second. Enter the city with an empty bag if you plan to push a high level.
- Group up for level 4+: a duo can cover an exit that a solo player cannot.
- Sell at the top of the curve, not after it. The bonus is worthless if you die holding it.
- Cargo haulers: Notoriety boosts delivery payouts, so a high-Notoriety run with a vehicle can be more profitable than another robbery.
FAQ
How does Notoriety work in ROB RUN?
It rises with every crime during one visit to Looty Bay. Higher levels improve loot and payouts, and increase police pressure. It resets when you leave the city.
Does Notoriety increase money?
Yes. Kefir says fences give better deals at higher Notoriety, and community testing reports Smuggler cargo bonuses of up to about 50% at the top level.
How do I lose Notoriety?
Leave the city. The meter resets when you exit, which is why banking loot and resetting heat are the same action.
ROB RUN heists: the robbery loop without a body count
Mask, cameras, alarms, keys and exits — the quiet version of the loop that keeps you out of prison.
Death, surrender and prison in ROB RUN
What you actually lose in each situation, how surrender works, and why a longer sentence is a currency.
ROB RUN cargo: open it or sell it?
The two exits for every crate, the values that matter, and how to unlock the Cargo Workbench without wasting $40,000.